How to Photograph Antiques for Authentication: What Experts Want to See
A bad photo produces a bad analysis. That goes for human experts and AI-based authentication tools alike. The quality of your photo largely determines the quality of the answer you get.
These are the rules professionals follow — and that make any system working with image analysis perform better.
The basic rule: daylight, no flash
Flash creates reflections on glazed surfaces, metal, and varnish. Those reflections mask exactly what an expert wants to see: texture, patina, wear, colour depth.
Photograph in diffuse daylight — next to a window, not in direct sunlight. Overcast weather is ideal. Colour reproduction is more natural and details are sharper.
Required photos by category
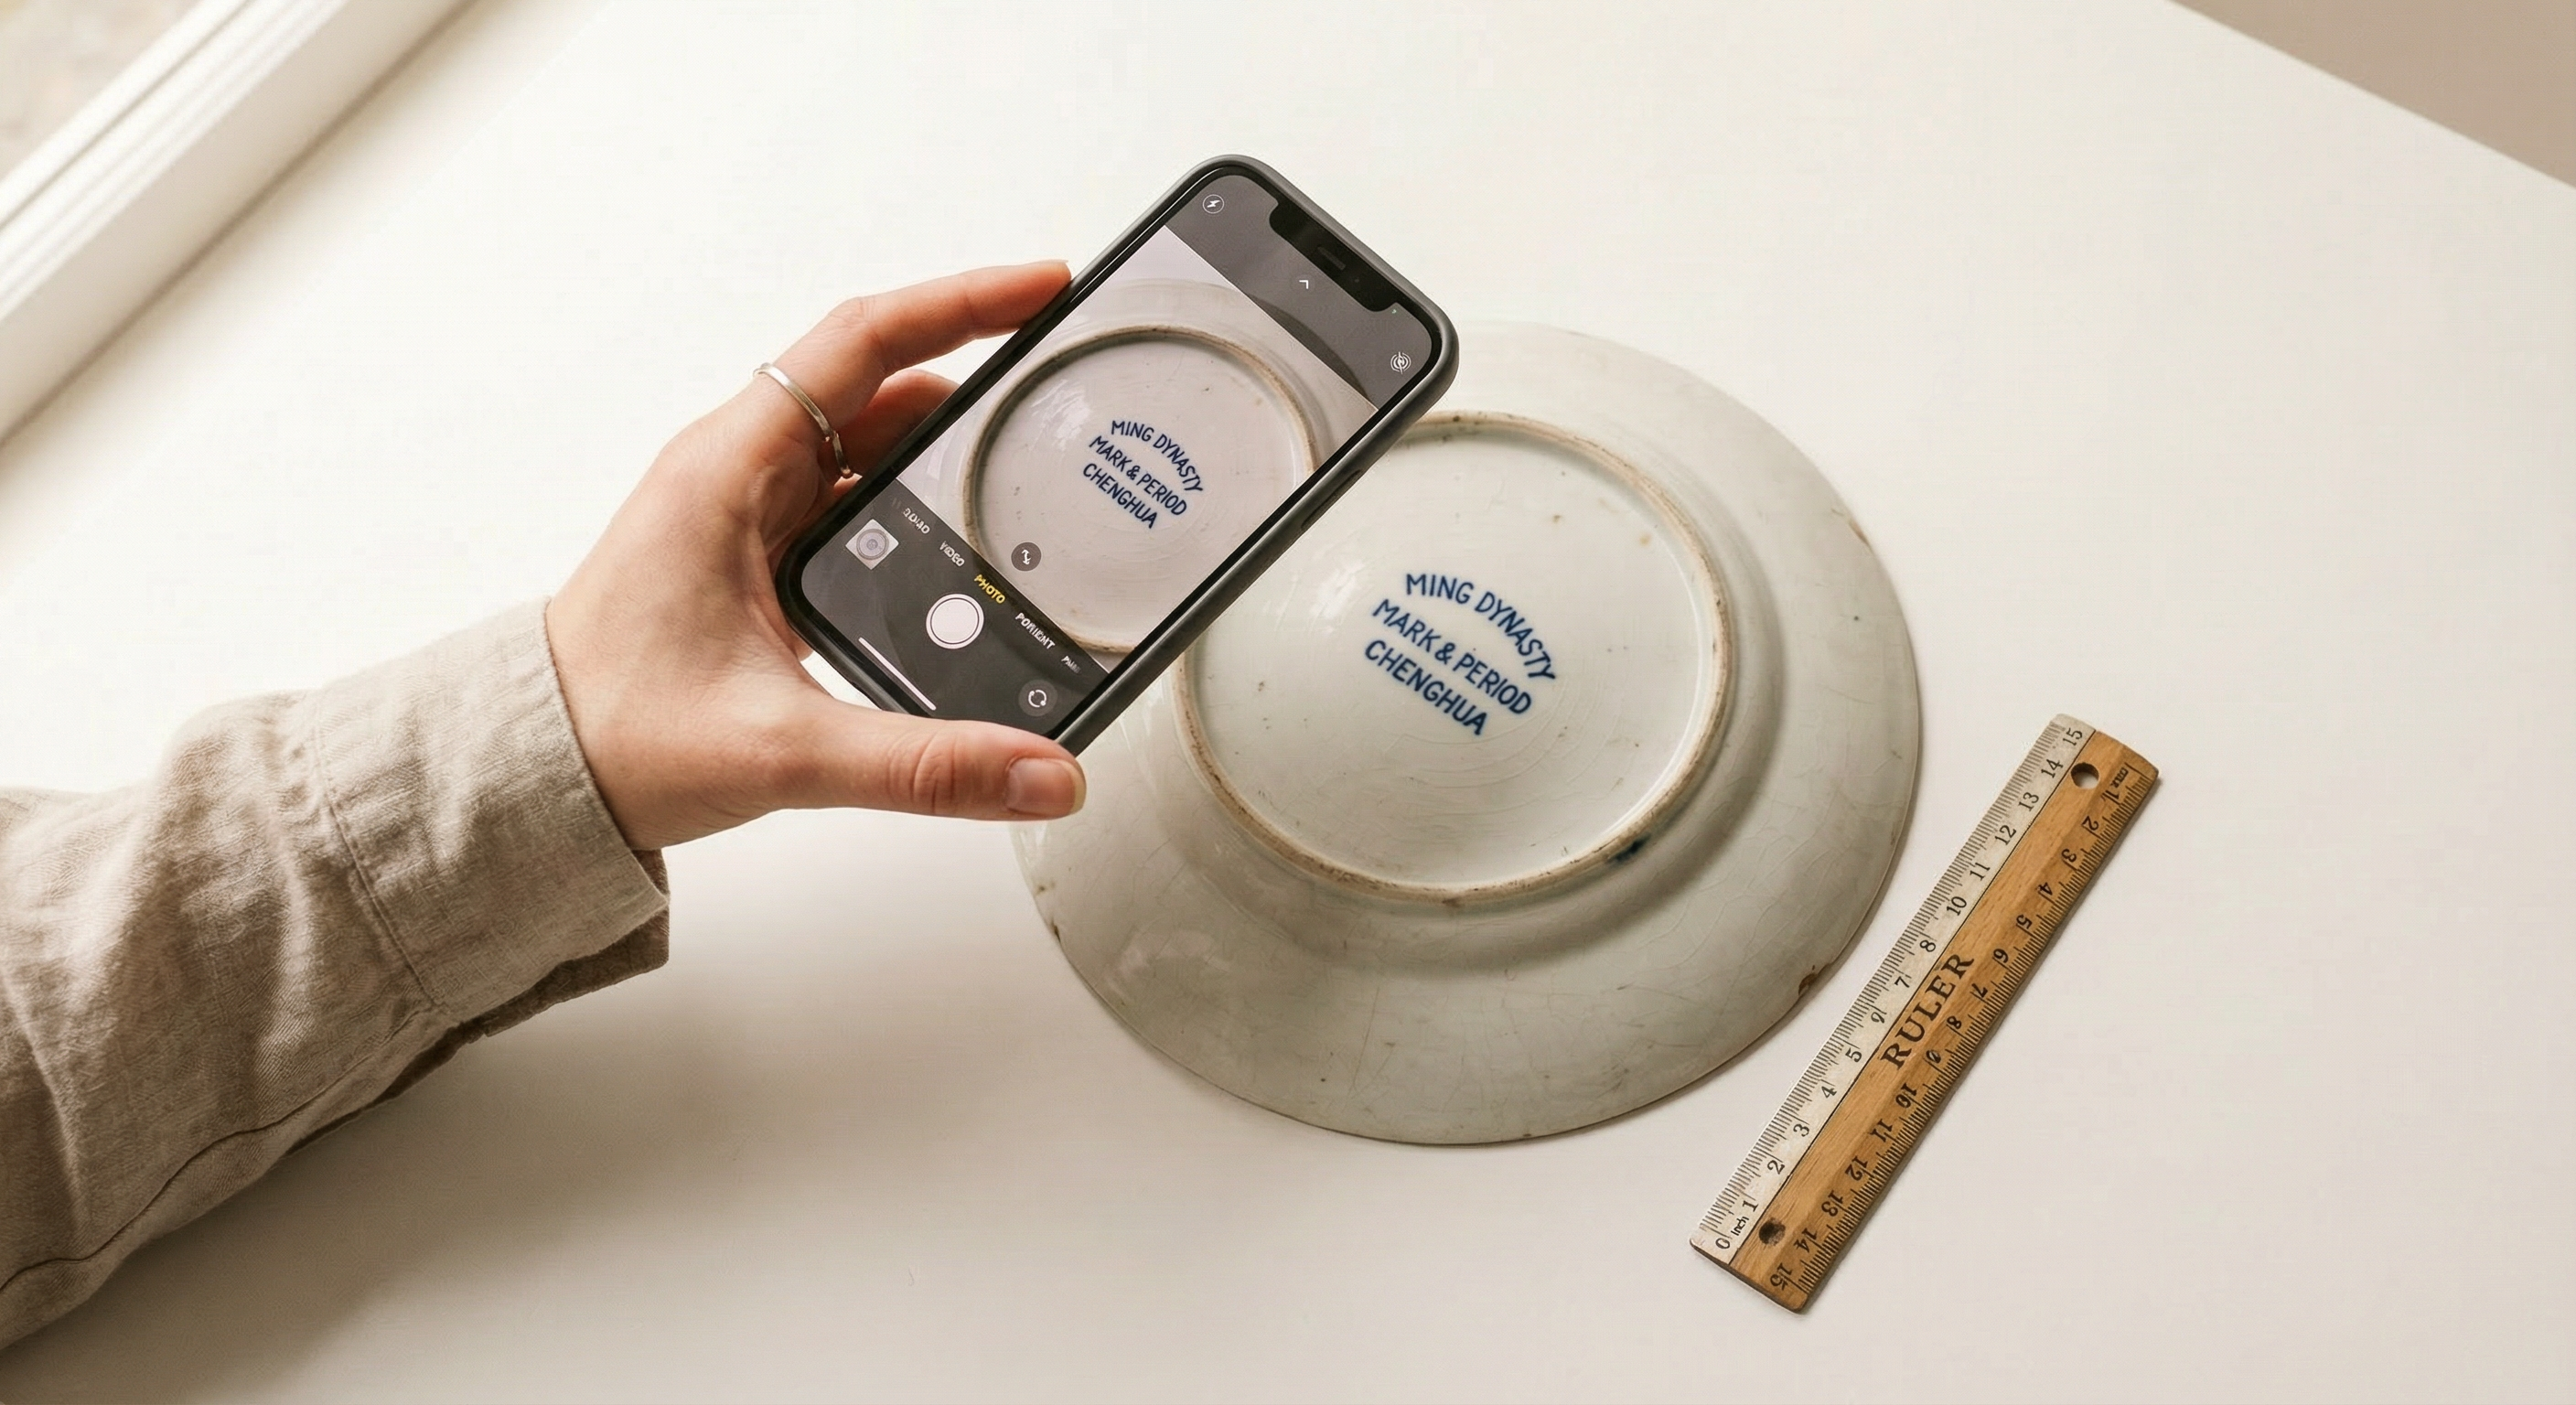
Porcelain and ceramics
- Front view — the complete piece
- The underside — maker’s marks, stamps, base labels
- Detail shot of the decoration — brushwork, colour detail
- Any damage or restorations photographed separately
Silver
- The hallmark zone — with maximum sharpness, using a loupe in front of the lens if needed
- The complete piece in raking light to reveal relief and wear
- Inside of bowls or boxes — often contain additional stamps
Paintings
- The painting in full, from the front
- The signature — separately, as sharp as possible
- The back of the canvas or panel — labels, stamps, inscriptions
- Raking light from the side — reveals craquelure and brushstroke texture
Furniture
- Full front view
- Details of joints and hinges
- Inside of drawers — wood grain, construction method
- Underside or back — unfinished wood is informative
Technical tips
- Don’t use your smartphone’s portrait mode — it blurs background details that may be relevant
- Minimum resolution: 2 megapixels per photo, but more is always better
- Place the piece on a neutral background — white or grey, no busy patterns
- Keep the camera steady — motion blur on a stamp detail makes identification impossible
What experts look for that you probably don’t photograph
The underside is the most neglected area in photography. Nearly every porcelain identification starts there. Maker’s marks, base labels, production indicators, restoration signs — they’re all on the underside.
With silver, the hallmark is sometimes so small that a regular photo isn’t enough. Use your phone as a magnifier: zoom in as far as possible for the shot, or hold an actual loupe in front of the lens.
Got good photos?
Upload them at AntiqBot and get a detailed analysis based on your images.
Upload your photos